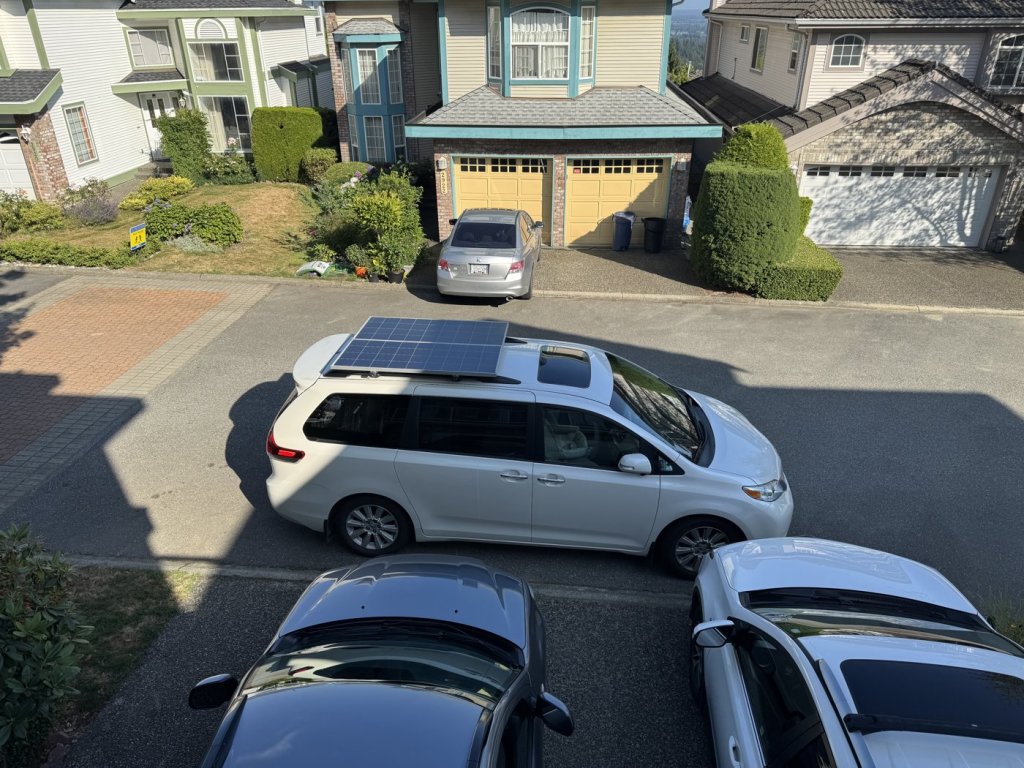
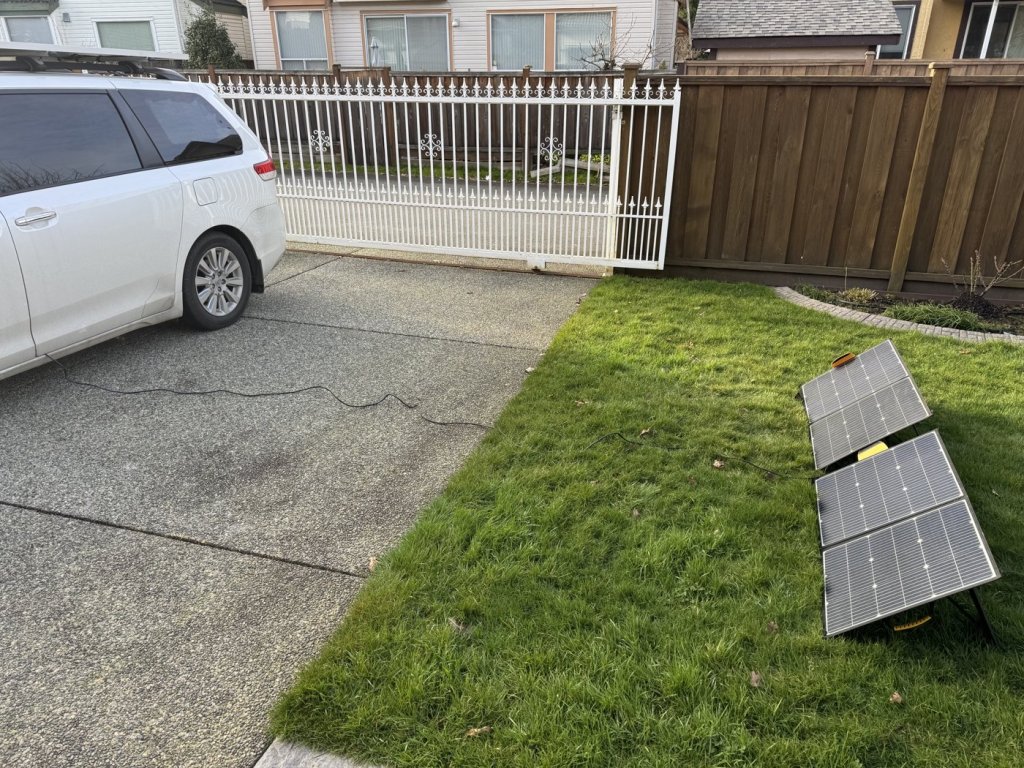
My first camping setup was a portable power station and 200 Watt folding solar panels. It ran the fridge, kettle, fans and USB gadgets for 2–3 days off-grid, but setting the panels up and taking them down every day was a hassle, and leaving them unattended was risky. My plan for fully electric cooking also needed far more solar input. Here is how I ended up with 400 Watt of fixed rigid panels on the Sienna roof.
Keeping It Simple
Flexible CIGS and bifacial panels can double the price for the same output, and neither suited my uneven roof, large moonroof and low panel height. Traditional monocrystalline panels were the most cost-effective choice, with corrosion-resistant aluminum frames and pre-drilled mounting holes. I sketched sliding panels, rotating platforms and even a sun tracker, then realized that more moving parts mean more cost and more things to fail under vibration.
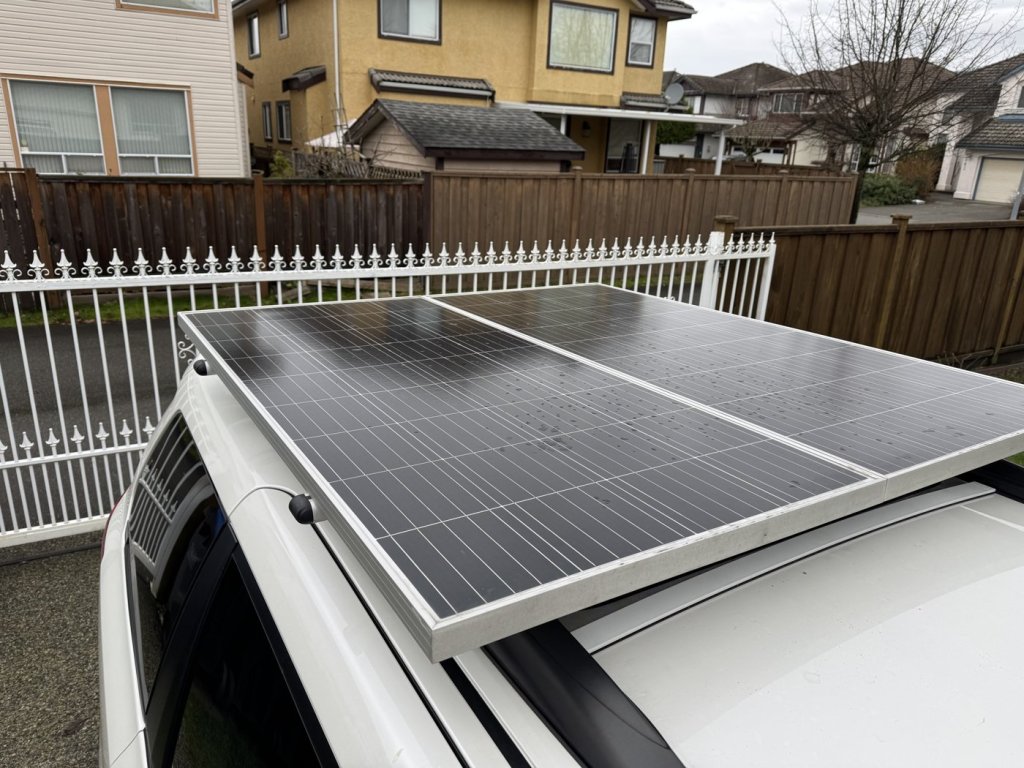
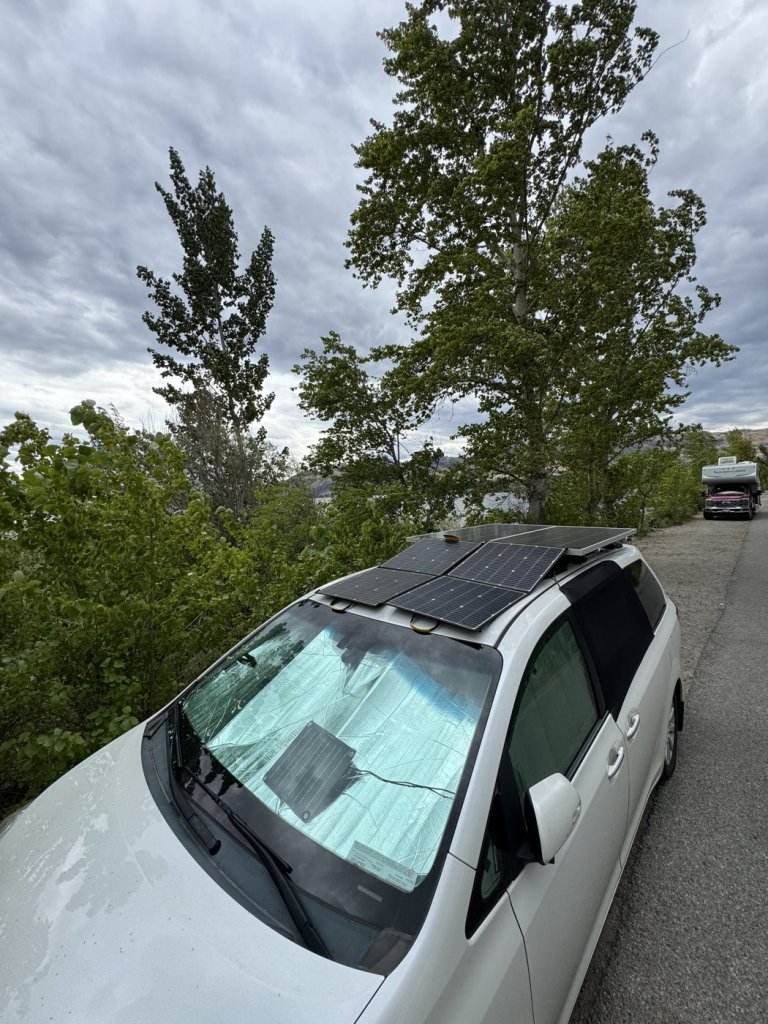
So I bolted two 195 Watt Eco-Worthy panels to inexpensive Amazon crossbars with eight stainless steel bolts. Five weeks of camping showed that this was enough, even in partly cloudy weather, and the dual-battery system covers up to five days without external charging. The raised panels also form a second roof over the moonroof, so I can use it in the rain, and they shade more than half of the roof in summer.
Wiring and Charging on the Go
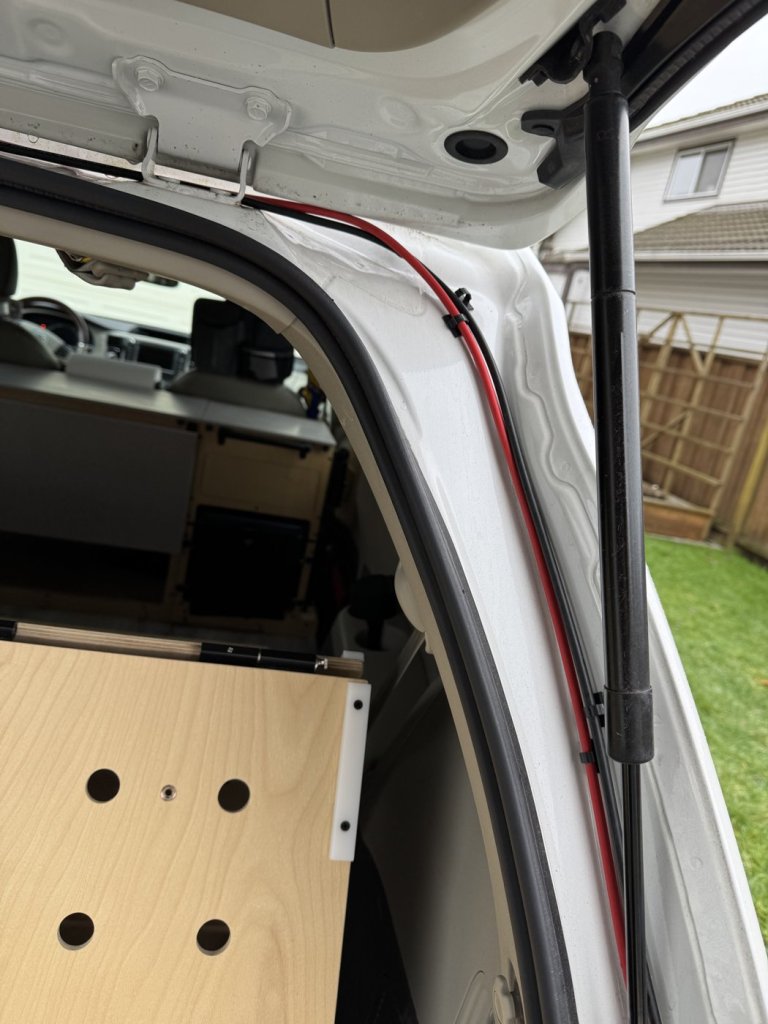
The panels are wired in parallel with a Y-connector and inline fuses. Following Bruce Parks’ tutorial, the cables run under the rear hatch, through a one-inch hole with a silicone grommet, beneath the body and into the van near the jack compartment, protected by foam pipe insulation. A Renogy DC-DC MPPT controller charges the main battery from solar and the alternator, prioritizing solar. A 50-amp breaker under the hood can cut off the starter battery. XT90 connectors and cut-off switches on both inputs allow full isolation.
Protecting the Starter Battery
After a week at a campground without driving, my power-hungry Sienna Limited ended up with a dead starter battery. Now the Renogy controller charges the starter battery whenever the main battery is full and extra solar is available. When the camping setup is removed in the fall, a small Eco-Worthy solar trickle charger on the dashboard keeps it topped up, through a dedicated SAE port wired to the battery near the driver’s footrest.
Quick Facts
- Panels: two 195 Watt Eco-Worthy monocrystalline, about 52 x 26 in, 21 lbs each
- Mounting: Amazon crossbars, eight stainless steel bolts
- Backup: 200 Watt folding panels, stored behind the driver’s seat
- Controller: Renogy DC-DC MPPT (solar and alternator)
- Protection: 50 A breaker, XT90 connectors, cut-off switches rated 200 A
Next up, Episode 9: Ventilation. I cover why proper ventilation is a must, passive air intake, mosquito screens, an active ventilation module with variable-speed fans, and internal fans for hot days and nights.
← Episode 7: Electrical | Full build story | Episode 9: Ventilation →

